跨端扫码确认实现Web登录(扫二维码登录)
起初的想法是类似于QQ扫码登录,BILIBILI扫码登录一样,通过手机确认后,在web端重定向完成登录
通过对BILIBILI扫码功能的解析,自己实现了一套类似扫码登录的功能
以下为伪代码,仅供查阅
前端
需要两个路由,两个页面
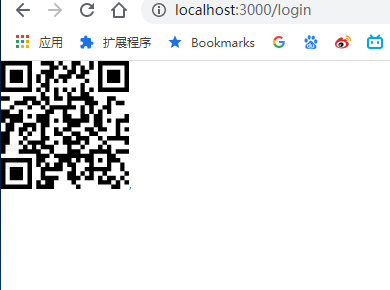
login提供Web端用户登录和扫码

图片仅提供扫码展示,密码登录不写了
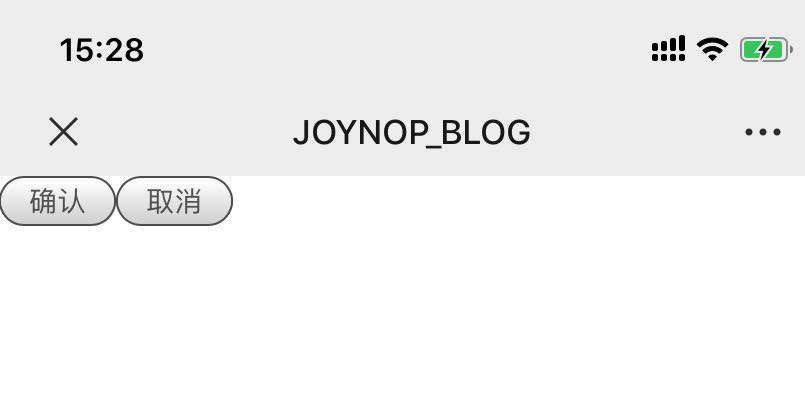
login2提供给跨端用户(如手机端)扫码进入
主要为二次确认,提供确认登录和取消登录

确认登录后,页面跳转至localhost:3000
后端
功能需求:
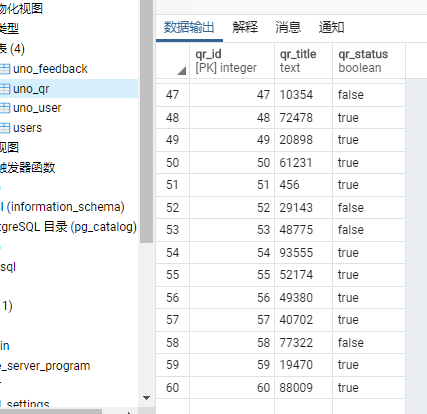
- 用户访问请求登录,获取登录ID,并存储其状态为false
- PUT用户根据登录ID确认登录,当状态为False是,修改为TRUE(需要权限验证)
- 提供当前登录ID信息查询
后端实现
- 生成登录ID,并返回前端
 let code = (Math.random() * 100000).toFixed(0);

 let data = {
      qr_title: code,    //登录ID
      qr_status: false,  //登录状态,未登录为False
    };

 return await this.qrService.create(a);
2.用户通过二维码访问确认登录页,确认登录
 @Put('/ConfirmLogin')
  async ConfirmLogin(@Query() chaxun: any): Promise<any> {

    return await this.qrService.confirm(chaxun);
  }
async confirm(dto?: any): Promise<any> {
try {
let data: Array<any> = await this.qrRepository.find({
qr_title: dto.qr,
});
if (data.length > 0 && !data[0].qr_status) {
data[0].qr_status = true;
this.qrRepository.save(data[0]);
} else {
}
} catch (error) {
throw new BadRequestException(`系统错误`);
}
}轮询请求状态
 @Get('/login')
  async login(@Query() chaxun: any): Promise<any> {
 console.log(chaxun);

 return await this.qrService.login(chaxun);
  }
async login(dto?: any): Promise<any> {
    try {
      let data: Array<any> = await this.qrRepository.find({
        qr_title: dto.qr,
      });


      if (data[0].qr_status) {
        return { loginStatus: 'OK' };
      } else {
        return { loginStatus: 'NOOK' };
      }
    } catch (error) {
      throw new BadRequestException(`系统错误`);
    }
  }
前端实现
引入QrCode库,根据请求的登录ID生成二维码,将参数带入手机确认登录页
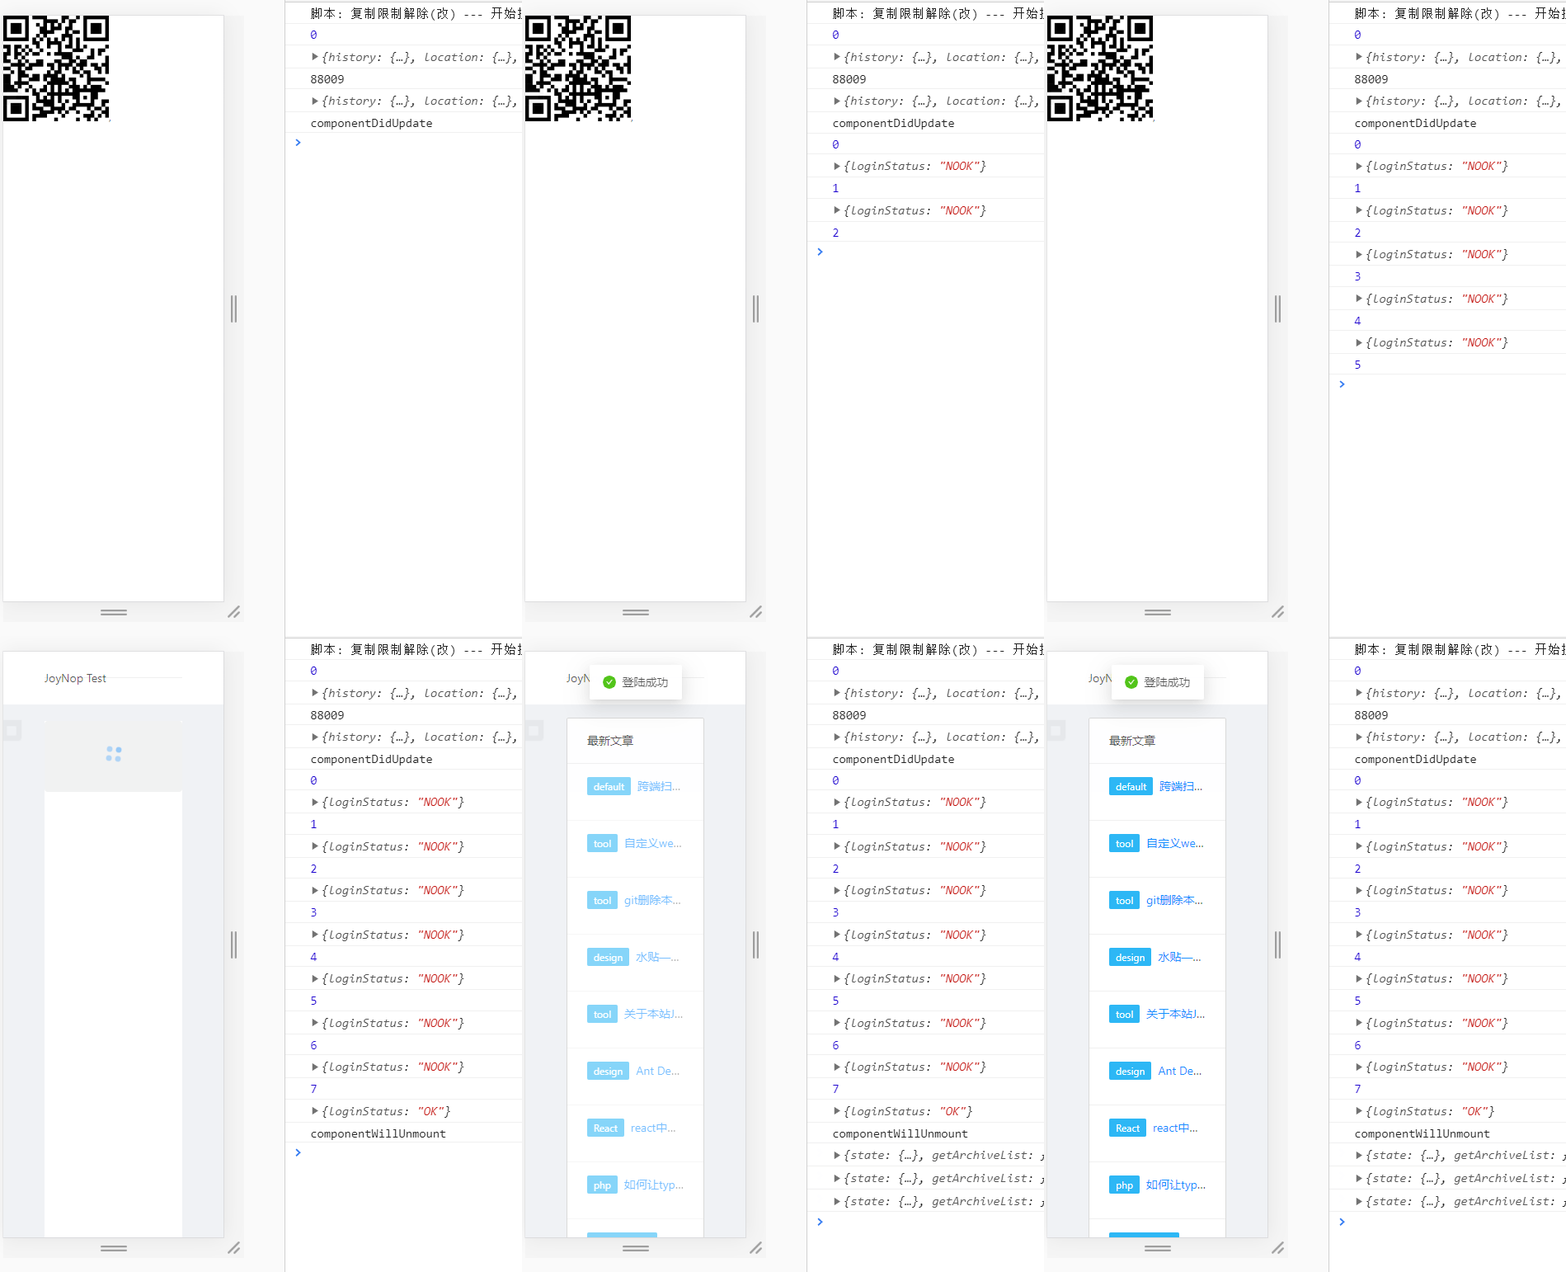
同时该页面轮询登录状态,登录成功后,跳转至网站内容页
Login1
import React, { Component } from 'react';
import axios from '../utils/http';
import { message } from 'antd';
var QRCode = require('qrcode.react');
export default class LoginRouter extends Component {
  code: number = 0;
  number: number = 0;
  hello: any = null;

  render() {
    console.log(this.code);
    console.log(this.props);

    return (
      <div>
        <QRCode value={`http://192.168.1.125:3000/login2?qr=${this.code}`} />,
      </div>
    );
  }

  tick = async() => {
    this.number += 1;
   const res = await axios.get<{ loginStatus:string }>(
     `http://localhost:4000/qr/login?qr=${this.code}`
   );
   console.log(res.data);

   if (res.data.loginStatus==='OK') {
     let a: any = this.props;
     message.success('登陆成功');
     a.history.push('/');
   }
  };

  componentDidMount() {
    axios.get('http://192.168.1.125:4000/qr').then(res => {
      this.code = res.data.code;
      this.setState({});
    });

    this.hello = setInterval(this.tick, 1000);
  }

  componentDidUpdate() {
    // 组件更新后触发
    console.log('componentDidUpdate');
  }
  componentWillUnmount() {
    // 组件卸载时触发
    clearInterval(this.hello);
    console.log('componentWillUnmount');
  }
}
Login2
手机登录页面确认后,提交确认状态,交给主登录页轮询状态
import React, { Component } from 'react';
import axios from '../utils/http';
import { message } from 'antd';

export default class LoginRouter2 extends Component {
  code: number = 0;
  render() {
    let a: any = this.props;
    let qr = a.history.location.search.split('=')[1];

    return (
      <div>
        <button
          onClick={() => {
            axios
              .put(`http://192.168.1.125:4000/qr/ConfirmLogin?qr=${qr}`)
              .then(res => {
                message.success('成功');
              });
          }}
        >
          确认
        </button>

        <button
          onClick={() => {
            alert('请关闭');
          }}
        >
          取消
        </button>
      </div>
    );
  }

  componentDidMount() {
    //   axios.get('http://192.168.1.125:4000/qr').then(res => {
    //     this.code = res.data.code;
    //     this.setState({});
    //   });
  }
}
只是理论可行,实际应用还需要判断其权限,手机端授权,页面端登录权限验证等,以及前端页面的扫码状态展示,扫码回执操作等
当然二维码也未必是指向本文章中的login2 如手机端可通过自定义协议访问,比如支付宝或微信付款吗alipay://
GIF示例-PC

GIF示例-Mobile
表
本作品采用 知识共享署名-相同方式共享 4.0 国际许可协议 进行许可。
评论已关闭